
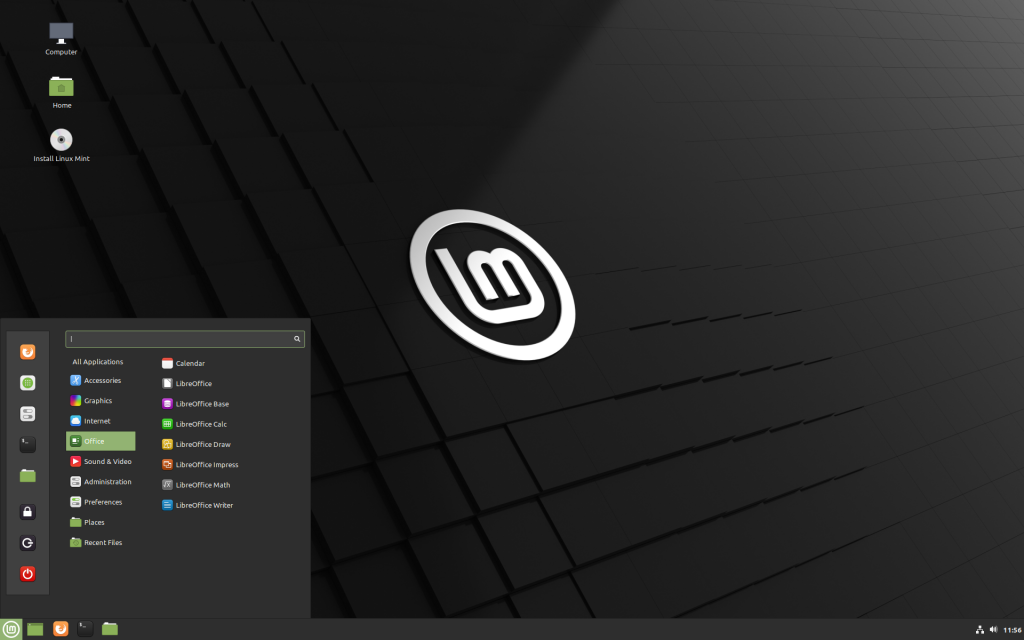
My favorite Linux distribution.
As an avid Linux user, I ran a few Linux flavours for the last 20 plus years. I started with Debian in 1998, moving to Ubuntu around 2006, and settling down with Linux Mint a couple of years later, around 2008. We currently have 4 desktops and laptops in our home running Linux Mint Cinnamon at this time.
Linux Ubuntu and Mint are both distributions based on Debian. More precisely Linux Mint is based on Ubuntu, which is based on Debian. Both are great OSes, but I have a strong preference for Linux Mint since Ubuntu abandoned Gnome for the Unity desktop, which I truly disliked. Note: Ubuntu reverted back to Gnome desktop on version 18.04, in May 2018, but a little bit too late for me. You can find more info about Ubuntu Linux @ https://www.ubuntu.com
There are three editions of Linux Mint currently:
Cinnamon – Is the most modern edition. It provides with a full-featured desktop and is the one that requires the most resource.
Mate – Is a more stable and faster desktop and utilizes fewer resources.
Xfce – Is the lighter edition, extremely stable and very light in resources usage. This is the perfect distribution to run in an older machine.
To read more about Linux Mint and download your copy, pay a visit to their website @ https://www.linuxmint.com
Setting up VNC Server x11vnc On Linux Mint 20,
VNC is a simple and great Open Source Remote Access application for desktop and mobile devices. There are versions available for Linux, Apple, Windows and Raspberry Pi devices.
Below are the steps I used to install and configure it on my Linux Mint 20 desktops.
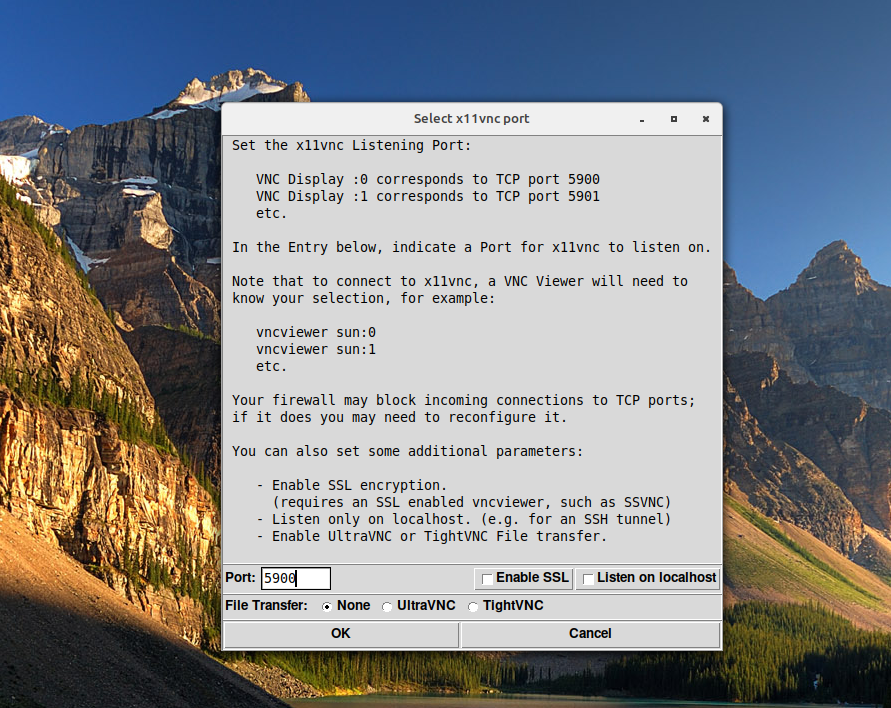
1 – Remove the default Vino server from your Linux machine before proceeding, if installed.
sudo apt-get -y remove vino2 – Install x11vnc.
sudo apt-get -y install x11vnc3 – Set up the location to store the password file.
sudo mkdir /etc/x11vnc4 – Set up the encrypted password file. When prompted enter the password you want to use, confirm it and then press Y to save the file.
sudo x11vnc -storepasswd /etc/x11vnc/vncpwd5 – Set up the systemd service file for the x11vnc service.
sudo xed /lib/systemd/system/x11vnc.service6 – Copy and paste the following code into the empty file and save it.
[Unit]
Description=Start x11vnc at startup.
After=multi-user.target

[Service]
Type=simple
ExecStart=/usr/bin/x11vnc -auth guess -forever -noxdamage -repeat -rfbauth /etc/x11vnc/vncpwd -rfbport 5900 -shared

[Install]
WantedBy=multi-user.target
7 – Restart the services.
sudo systemctl daemon-reload8 – Enable the x11vnc service at boot time.
sudo systemctl enable x11vnc.service9 – Start the service.
sudo systemctl start x11vnc.service10 – You can now test your installation by remoting to your machine, using port 5900 – noted on step number 6, line 7; and the password you set up on step number 4. Voilà!
Initramfs unpacking failed: Decoding failed

This error message comes up during the boot process. Follow the steps listed to resolve it.
1 – Open a terminal, edit the initramfs.conf file and change COMPRESS=lz4 to COMPRESS=gzip and save the changes.
xed admin:///etc/initramfs-tools/initramfs.conf2 – Next run this command to update the existing initramfs configuration file:
sudo update-initramfs -u3 – Reboot the machine and the error message should disappear.
Installing Microsoft Teams on Linux Mint 20
1 – Remove the nosnap.pref file.
sudo rm /etc/apt/preferences.d/nosnap.pref2 – Run a system update.
sudo apt update3 – Install snapd and reboot the machine afterwards.
sudo apt install snapd
4 – Install Teams for Linux.
sudo snap install teams-for-linux5 – Voilà, you are done.